Setting up your Local Network
In the next Blog post in my series about hosting your own web site from home using your BT Home Hub, I will cover the set up of your web server on your local network and how you can access it remotely to complete the configuration of you web site. You do not potentially need to do things remotely until after you've gone live, but it can help with the set ups, particularly if your server is in a difficult to reach place and without a permanently connected monitor. I would generally use the inbuilt Windows software (Remote Desktop Connection) to make this type of remote access possible.To connect to your web server remotely, you'll need to know the name of the computer on your network and a username and password. This really needs to be the Administrator, for many of the things you'll need access to, or at least another user with full admin rights. As it the third time if set this sort of thing up, I imaginatively named my new computer SERVER-03. To connect to it from another computer on you network it needs to be available to your network permanently. I have a (network) hub which I connect to using Ethernet (as opposed to doing things wirelessly and this hub in turn is connected to my BT HomeHub, but I don't see why connecting wirelessly back through a router or even by Ethernet back directly to the BT HomeHub would be a problem. You need the connection to the HomeHub, so that you can make your server available to the Internet when you come to that part.
As far as using the Remote Desktop Connection software is concerned, you should be able to search for it on your computer from the Start Menu, if you don't already know where it is. The Windows shortcut will look like this (on a 32bit system):
 |
| Remote Desktop Connection Shortcut Properties |
It will normally be found in the Windows Start Menu > Programs > Accessories, like so:
 |
| Windows Start Menu > Programs > Accessories |
 |
| Network \\SERVER-03 - Viewed Using Windows Explorer |
Once you're confident that the computer you are currently working on can communicate with the Server on the Network then you should be able to establish a Remote Desktop Connection. This is dependant on a setting on the Server, so it may be wise not to discard the monitor you used to view the server's desktop too soon in the process! Dependent on the Operating System the options may look slightly different on the dialogue, but it will be something like this:
 |
| System Setting to Allow Remote Desktop Connections |
Once you are happy with all of the above, establishing the Remote Desktop Connection should be straight forward and you will log on using the Server's computer name a system user and the password. This should be something like as follows (don't forget to use your server's name - not necessarily SERVER-03):
 |
| Remote Desktop Connection - Log on |
You will need to click the "Connect" button and then another dialogue will allow you to input the user credentials. As I mentioned before, it's best to use the Administrator account to log on with, so as long as you have that password, you should get a (Remote Desktop) Connection OK.
 |
| Enter Your Credentials (RDC) |
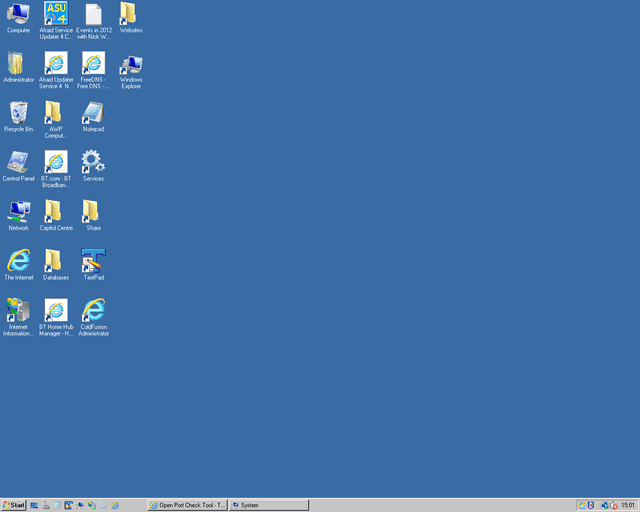
You'll get a new tab that will appear (generally) it the top of your screen and then, once the configurations have loaded properly, you should be able to see the desktop of the server to carry out any further set-ups and configurations.
 |
| SERVER-03 Desktop Via Remote Desktop Connection |
The next step in the process will be Acquiring and configuring a Domain Name, which will be covered in my next Blog post. As far as the other steps of the process are concerned, the following articles will cover the other important topics:
- Hosting a Web Site at Home on BT Broadband
- Procuring and setting up a Web Server
- Acquiring and configuring a Domain Name
- Configuring your BT Home Hub
- IP Addresses and Dynamic DNS
This is a great inspiring article.I am pretty much pleased with your good work.You put really very helpful information...
ReplyDeleteweb hosting in Nigeria
I found so many interesting stuff in your blog especially its discussion. Really its great article. Keep it up.
ReplyDeleteMarketing1on1 - What is website marketing
I really like your take on the issue. I now have a clear idea on what this matter is all about.. https://axndata.com/
ReplyDeleteThanks for the blog post buddy! Keep them coming... app development
ReplyDeleteThanks For this great content. Really Enjoyed.Keep It up..You have done a extraordinary job! If you want to find idol's account on instagram, please visit desksta
ReplyDelete